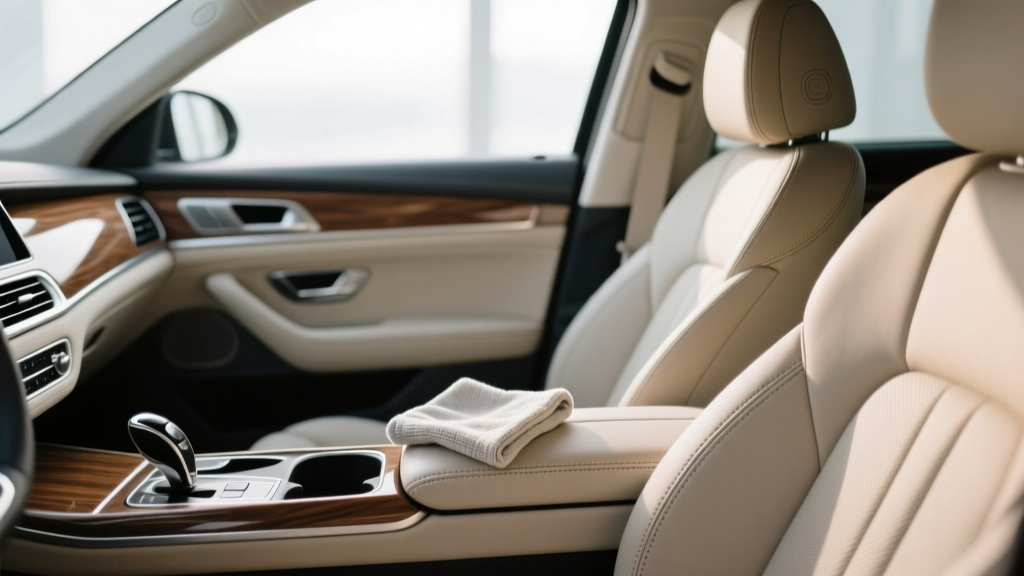
Cleaning for Permanent Fix - CarInteriorMix
Cleaning for Permanent Fix
Most car interior messes don?t need a ?detail once a year? approach?they need a small, repeatable routine that stops stains, odors, and grime from coming back. If you?ve ever wiped a seat, felt proud, and then noticed the same spot reappear a week later, you?re not alone. The trick is cleaning in a way that removes the source (oils, salts, bacteria, embedded dirt) instead of just making it look better for a day.
Below are practical, no-nonsense tips for a more permanent fix?whether you?re dealing with sticky cupholders, musty smells, pet hair, or that mysterious ?why is my steering wheel shiny?? problem. These are simple car cleaning tips for everyday owners, with product options and DIY alternatives.
-
Start with a dry clean first (vacuum + brush) before any liquid.
Liquids turn dust into mud and push grit deeper into carpet and upholstery. Do a thorough vacuum of seats, floor mats, and carpet first, then use a soft interior brush (or a clean paintbrush) to loosen dirt from seams and vents. Example: If you spray cleaner on sandy floor mats first, you?ll end up grinding sand into the fibers and wondering why they still look dingy. -
Use the right cleaner for the surface (and stop using ?one spray for everything?).
A permanent fix starts with matching product to material: pH-neutral interior cleaner for plastics/vinyl, dedicated leather cleaner for coated leather, and fabric upholstery cleaner for cloth seats. Good options include Meguiar?s Quik Interior Detailer (plastics), Leather Honey Leather Cleaner (leather), and a foaming upholstery cleaner like Tuff Stuff (fabric). DIY alternative: a lightly damp microfiber with warm water for light dusting?safer than random household sprays that can haze screens and dry out trim. -
De-grease touch points to stop shine and grime from returning fast.
Steering wheels, shifters, armrests, and door pulls collect skin oils that make surfaces glossy and slippery. Use a dedicated interior APC (all-purpose cleaner) diluted properly (check the label) or a mild soap solution (a drop of dish soap in warm water) on a microfiber, then follow with a damp wipe to remove residue. Real-world win: If your wheel gets shiny two days after cleaning, you probably ?spread? oils around instead of removing them?use two cloths (one to clean, one to rinse). -
For cupholders and sticky consoles, break the sugar bond?don?t just scrub harder.
Sticky messes are usually soda, coffee syrup, or melted candy, and they re-stick because residue stays in seams. Use warm water on a microfiber wrapped around a plastic trim tool or old gift card, then follow with a gentle interior cleaner. Tip: Pull out removable cupholder inserts (common in many vehicles) and wash them in the sink?just make sure they?re fully dry before reinstalling to avoid mildew. -
Handle cloth seat stains with ?blot, lift, extract? instead of soak-and-pray.
For a lasting cloth upholstery stain removal result, avoid soaking the seat foam?over-wetting causes odors and water rings. Spray fabric cleaner onto a microfiber (not directly onto the seat), blot from the outside in, and lift the stain with repeated passes. If you have a small extractor (like a Bissell Little Green), do a light rinse/extract afterward; example: spilled milk will keep smelling if it?s still in the padding, so extraction is the difference between ?clean? and ?permanent fix.? -
Clean leather the right way: gentle cleaner, soft brush, then protect.
Most modern leather seats are coated, so you?re cleaning the protective layer?not feeding raw hide with heavy oils. Use a leather cleaner and a soft leather brush to work grime out of perforations and stitching, then wipe dry with a clean microfiber. Follow with a water-based leather protectant (or a UV protectant) to reduce dye transfer and future staining; example: if jeans dye keeps tinting your light seats, a protectant helps create a barrier so it wipes off easier next time. -
Odor ?permanent fixes? start with source removal?then treat the air system.
Air fresheners mask smells; they don?t fix them. First, remove the source: vacuum, clean spills, and check under seats for forgotten food. Next, replace the cabin air filter (a common cause of musty smells) and run the HVAC on fresh air for a few minutes; for stubborn odors, use an enzyme odor eliminator (like Nature?s Miracle) on fabrics and carpets. Safety note: Never mix cleaners (especially bleach-based products) and always ventilate the car while using odor treatments. -
Use a ?two-towel? method on screens and gloss trim to avoid streaks and scratches.
Infotainment screens and piano-black trim scratch easily, and aggressive cleaners can damage coatings. Use a dry, clean microfiber to remove dust first, then a second microfiber slightly dampened with distilled water (or a screen-safe cleaner) for fingerprints. Example: If you wipe a dusty screen with one wet towel, you?re basically sanding it?dust off first, then wipe. -
Floor mats decide whether your interior stays clean?treat them like a barrier.
Pull mats out weekly, shake them, and vacuum both sides. For rubber mats, scrub with mild soap and a stiff brush, rinse well, and dry completely; for carpet mats, use a carpet cleaner and brush, then extract or rinse lightly. Real-world scenario: If your carpets keep looking gray, it?s often road salt and grit migrating from dirty mats?clean mats first so you?re not recontaminating everything. -
Protect after cleaning: UV protection and fabric guard reduce future work.
Cleaning is only half the ?permanent fix??protection slows down the next mess. Use a UV protectant on dashboards and door panels (303 Aerospace Protectant is a favorite) to reduce fading and make dust easier to wipe off. For cloth seats, a fabric protectant (like Scotchgard Auto Fabric) helps spills bead up so you can blot them before they become stains; safety note: apply protectants outdoors or with doors open, and let everything cure fully before driving. -
Build a 10-minute reset routine so problems never get ?big? again.
The most permanent fix is preventing buildup: keep a small kit in the trunk (microfibers, travel interior cleaner, a mini brush, and a trash bag). Once a week, toss trash, quick-vac the driver area, wipe touch points, and empty cupholders. Example: If you commute with coffee daily, a 60-second cupholder wipe prevents the hardened sticky ring that takes 20 minutes later.
Quick Reference Summary
- Vacuum and dry-brush first?don?t turn dust into sludge.
- Match cleaner to material (plastic, leather, cloth) for real interior detailing results.
- De-grease steering wheel and armrests to stop shine from returning.
- For sticky areas, use warm water + crevice wiping to remove residue in seams.
- Blot and extract cloth stains; avoid soaking seat foam.
- Fix car interior odors by removing the source and replacing the cabin air filter.
- Dust screens first, then use a lightly damp microfiber to prevent scratches.
- Clean floor mats weekly?they?re the dirt gatekeeper.
- Use UV protectant and fabric guard to keep the interior cleaner longer.
- Do a weekly 10-minute reset so ?detail day? is never a crisis.
Conclusion
A ?permanent fix? doesn?t mean your car never gets dirty?it means your cleaning actually removes what causes stains, smells, and grime to come back. Pick two tips to try this week (vacuum-first plus touch-point de-greasing is a great start), and you?ll notice the interior stays clean longer with less effort. Keep it simple, stay consistent, and your car will look?and smell?like you actually have it together.